iTerm Configuration
iTerm is a replacement for the OSX Terminal. It works on Macs with macOS 10.10 or newer. It includes many features the increase productivity.
Initial Setup
Download and install iTerm
Key Remapping
If you are accustomed to keyboard shortcuts in Linux such as ⎇→ or ⌃→ then you may find they do not have the behavior desired in iTerm. You can remap keyboard shortcuts under iTerm2 → Preferences → Profiles → Default → Keys.
A few convenient changes are as follows:
| Key Combination | Action | Description |
|---|---|---|
| ⎇→ | Esc + f | Forward jump words on Linux command line and in Emacs |
| ⎇← | Esc + b | Reverse jump words on Linux command line and in Emacs |
| ⌃→ | Esc + f | Forward jump words on Linux command line and in Emacs |
| ⌃← | Esc + b | Reverse jump words on Linux command line and in Emacs |
| ⎇↑ | 0x1b 0x5b 0x41 0x1b 0x5b 0x41 0x1b 0x5b 0x41 0x1b 0x5b 0x41 0x1b 0x5b 0x41 0x1b 0x5b 0x41 | Jump up 5 lines in Emacs |
| ⎇↓ | 0x1b 0x5b 0x42 0x1b 0x5b 0x42 0x1b 0x5b 0x42 0x1b 0x5b 0x42 0x1b 0x5b 0x42 0x1b 0x5b 0x42 | Jump down 5 lines in Emacs |
| ⎇Del→ (same as fn+delete) | Esc + d | Forward delete button. Deletes character to the right of the cursor |
Shell Integration
Shell integration allows for convenience features like command history tracking, auto-identification of URLs, click to SCP files, and much more. It functions through a simple bash script created in your home directory (~/.iterm2_shell_integration.bash). You will need to install it on your local machine and each server you wish to have enhanced iTerm features enabled on.
To install:
- Open iTerm.
- Click on 'iTerm2' in the menubar.
- Select 'Install Shell Integration'.
- Click the 'Install Shell Integration & Utilities' button.
- After doing this on your local machine, log into any servers you commonly work on and repeat the install steps.
For 'click to SCP', iterm uses the hostname supplied by the server and runs SCP in the background, but CHPC servers do not return the same hostname as you use for SCP (try 'hostname -f' on kingspeak for example and you will see it does not match the expected URL). To get 'click to SCP' to work on CHPC servers, make the following edit to ~/.iterm2_shell_integration.bash in you CHPC home directory. Look for a block of code starting around line 480 (or search for the string '# If hostname -f') and replace the block of code with the following:
# If hostname -f is slow on your system, set iterm2_hostname before sourcing this script.
if [ -z "${iterm2_hostname:-}" ]; then
  iterm2_hostname=$(hostname -f 2>/dev/null)
  # some flavors of BSD (i.e. NetBSD and OpenBSD) don't have the -f option
  if [ $? -ne 0 ]; then
    iterm2_hostname=$(hostname)
  fi
  if [[ "$iterm2_hostname" =~  ^.*\.wasatch\.peaks$ ]]; then
    iterm2_hostname=$(echo $iterm2_hostname | perl -pe 's/wasatch\.peaks$/chpc.utah.edu/')
  fi
  if [[ "$iterm2_hostname" =~  ^.*ipoib\.privatearch\.arches$ ]]; then
    iterm2_hostname=$(echo $iterm2_hostname | perl -pe 's/ipoib\.privatearch\.arches$/chpc.utah.edu/')
  fi
  if [[ "$iterm2_hostname" =~  ^.*int\.chpc\.utah\.edu$ ]]; then
    iterm2_hostname=$(echo $iterm2_hostname | perl -pe 's/int\.chpc\.utah\.edu$/chpc.utah.edu/')
  fi
fi
Profile Switching
If you commonly switch between logins (root, ucgd-peuser, etc.), you can automatically switch the layout of the terminal (i.e. colors) to make it more obvious that you have switched to a different user. Logging out of that user will return the terminal to its default configuration. Switching profiles provides a visual cue that helps keep you from accidentally continuing work as a super-user. Accidentally doing 'rm -rf /' as a super-user, for example, because you forgot to log out of root can have drastic consequences. If you have been given access to any of the UCGD super-users at CHPC (ugpuser, ucgd-peuser, ucgd-pepipeline, or ucgd-peanalysis), then you need to setup profile switching.
To setup:
- Open iTerm.
- Click 'iTerm2' on the menu bar,
- Click 'Preferences'.
- Select the 'Profiles' button in the panel.
- Use the '+' button to add a new profile.
- Set the 'Name' of the profile to something like 'super user'.
- Click the 'Colors' button for the profile.
- Select 'Color Presets' and choose a theme different than your default color scheme (i.e. you can choose 'Light Background' if you use a dark color background on your default terminal).
- Click the 'Advanced' button for the profile.
- Scroll to the bottom where it says 'Automatic Profile Switching' and click the '+' button.
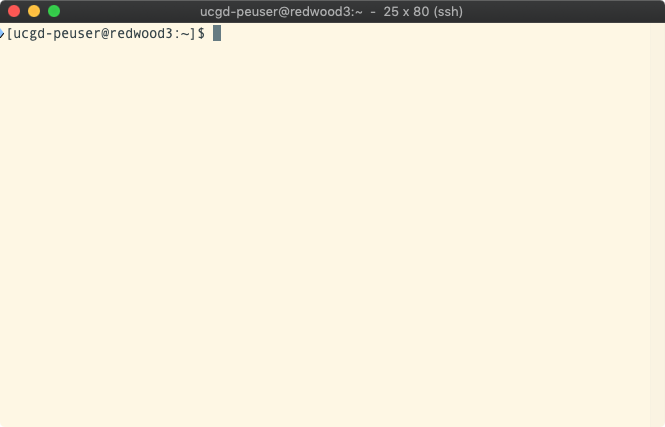
- We now want to create a regular expression (i.e. text match) that will be used to enable the profile. An example would be 'root@' or 'ucgd-peuser@'. This will match the username portion of your terminal prompt (i.e. your terminal prompt may look like this '[ucgd-peuser\@kingspeak36:~]\$').
Once setup, you should switch to the user identified by the regular expression in step 10, and the terminal layout should automatically change.
Before Profile Switch

After Profile Switch
Triggers
Triggers allow you to program context specific actions that will occur automatically, i.e. open a program or write text whenever the terminal matches a given regular expression. Convenient triggers include automatically opening the password manager whenever ssh asks for a password, or you can auto-select 'Duo Push' to your cellphone whenever two factor authentication is asked for.
To setup:
- Open iTerm.
- Click 'Window' on the menu bar,
- Select 'Password Manager'
- Use the '+' button to add passwords for servers or accounts you commonly log into.
- Close the password manager.
- Click 'iTerm2' on the menu bar,
- Click 'Preferences'.
- Select the 'Profiles' button in the panel.
- Select the 'Default' profile.
- Click the 'Advanced' button for the profile.
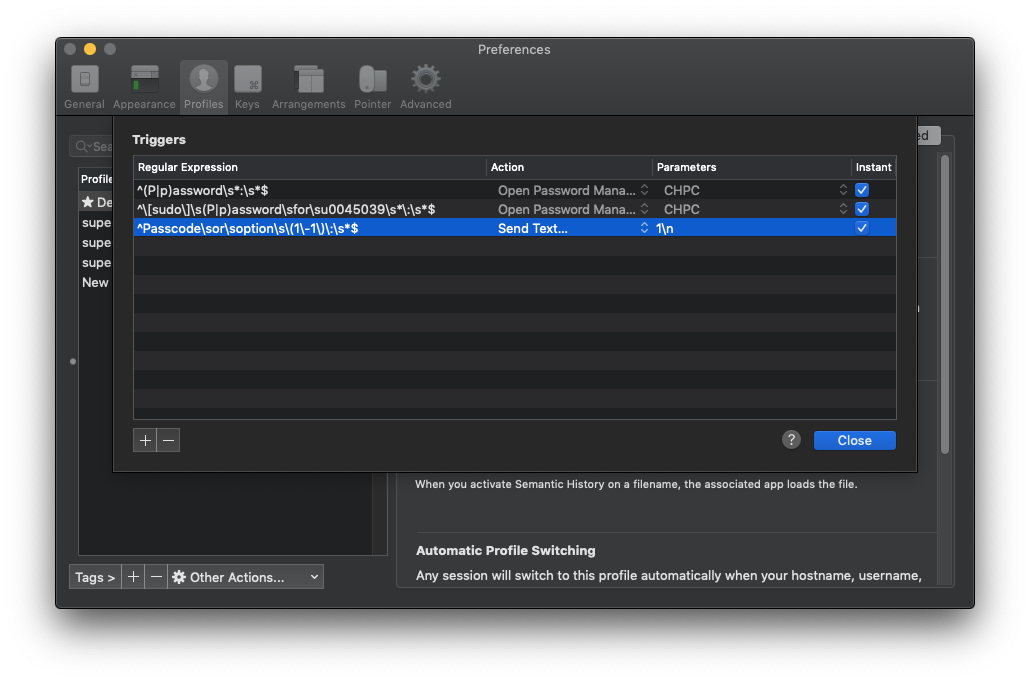
- At the top there will be a section labeled 'Triggers'. Click the 'Edit' button under 'Triggers'.
- [Click the '+' button to add a new trigger, and fill out the following 3 triggers.]
| Regular Expression | Action | Parameters | Instant |
|---|---|---|---|
| ^(P|p)assword\s*:\s*\$ | Open Password Manager | <Select account> | checked |
| ^\[sudo\]\s(P|p)assword\sfor\su0045039\s*\:\s*\$ | Open Password Manager | <Select account> | checked |
| ^Passcode\sor\soption\s\(1\-1\)\:\s*\$ | Send Text | 1\n | checked |
You may have to fully exit iTerm and restart it for triggers and entries in the password manager to take effect.